Revit add ins, add ons, and plugins for many purposes

Unlock seamless BIM collaboration — request your demo today
While Revit is a vast and feature-rich BIM platform, there comes a time when you might want something that Revit cannot offer on its own: some specific feature or an improvement to make your life easier. This is where Revit plugins come in, and in this article, we’ll take a look at many different Revit add ons, both paid and free.
Introduction
BIM (Building Information Modeling) platforms like Revit are handy tools that help with various tasks for MEP (mechanical, electrical, and plumbing) engineers, architects, contractors, designers, etc. However, they are also not the most convenient and user-friendly software tools in the world, and they may have various shortcomings in specific areas.
Luckily enough, Revit is easily customizable using a large variety of Revit add-ins both from Revit’s own App Store (a separate section of the Autodesk App Store) and various third-party sites. These Revit add-ons are capable of almost anything the basic Revit package cannot do, and it is difficult to list all of the potential features that are available via Revit plugins.
What are Revit add-ins?
Revit add-ins are third-party software extensions that integrate directly into Autodesk Revit’s interface. These tools expand Revit’s native capabilities by adding specialized features, automating repetitive tasks, and resolving specific workflow challenges that the base software does not address.
Add-ins are software extensions acting as specialized power tools for your BIM workflow. Where Revit provides the foundation, add-ins deliver targeted solutions for tasks like automated sheet generation, clash detection across disciplines (with platforms like Revizto leading the coordination space), advanced rendering, or bulk parameter editing. Instead of manually repeating the same 20-click process hundreds of times, the right add-in reduces it to a single button.
Why do Revit users rely on add-ins?
The benefits are straightforward and measurable:
- Time savings – Automation tools eliminate hours of manual work. Tasks like renaming sheets, exporting drawings, or updating parameters across multiple families happen in seconds instead of hours.
- Improved accuracy – Automated processes reduce human error. Clash detection tools catch conflicts before construction, while validation plugins ensure consistency throughout the model.
- Enhanced collaboration – Many add-ins create centralized workflows where teams work from a single source of truth, eliminating version control issues and miscommunication (with Revizto being a great example of such a solution).
- Specialized capabilities – Need photorealistic rendering? Advanced structural analysis? MEP system optimization? Add-ins provide professional-grade tools that integrate seamlessly with your existing Revit projects.
The real value is not in adding features – it is in removing tasks that delay project completion. Whether you are an architect visualizing designs, an MEP engineer coordinating systems, or a contractor managing documentation, the right plugins transform Revit from a capable tool into a powerhouse tailored to your exact needs.
What are the advantages and limitations of Revit plugins?
Awareness of both the strengths and constraints of Revit add-ins helps users make much more informed decisions about which tools deserve a place in their workflows. Plugins amplify Revit’s power tremendously, but they are only tools, not magic solutions. The recommended approach is to choose strategically based on your actual bottlenecks, instead of installing everything that looks even remotely interesting.
Benefits of Revit plugins
- Dramatic productivity gains – Automation eliminates tedious manual work. What may take hours by hand can happen in minutes with the right plugin. Bulk operations, automated exports, and intelligent filtering transform your daily workflow.
- Superior coordination – Clash detection and model checking tools like Revizto catch errors before they become expensive construction problems. Real-time collaboration features keep teams aligned across disciplines and locations.
- Professional-grade specialized tools – These provide capabilities that would cost tens of thousands as standalone software. Advanced rendering engines, structural analysis tools, and MEP optimization features integrate directly into the familiar Revit environment.
- Customization for your workflow – Every firm works differently, and plugins let you tailor Revit to your specific processes rather than forcing your team to adapt to generic software limitations.
Shortcomings of Revit plugins
- Version compatibility headaches – Plugins do not always update alongside Revit releases. A major Revit update can sometimes break your essential tools until the developers catch up, which may take weeks or months.
- Learning curves – Each new tool requires an investment of time. Complex plugins like Dynamo or advanced rendering engines demand significant training before your team sees productivity benefits.
- Performance impacts – Too many active plugins slow Revit down. Each add-in consumes memory and processing power, and poorly optimized tools can cause crashes or lag.
- Cost accumulation – Premium plugins require annual subscriptions. A comprehensive toolkit easily reaches thousands of dollars per seat per year, which adds up fast for larger teams.
- Maintenance burden – Plugins need updates, license management, and troubleshooting, and conflicts between add-ins create technical support issues that eat into productivity gains.
How are Revit add-ins installed?
Installing Revit plugins follows a straightforward process similar to the installation of any Windows application, but version compatibility and proper setup steps determine whether your add-ins work smoothly or cause frustration. Keeping track of the complete installation workflow – from compatibility verification through post-installation testing – prevents common problems that waste time and lead to workflow disruptions.
Most Revit add-ins are distributed as executable installers (.exe or .msi files) that handle the technical details automatically. The Autodesk App Store serves as a centralized marketplace where you can browse, download, and manage plugins, though many developers also offer direct downloads from their websites. Both sources work equally well, but the App Store provides a standardized installation experience and automatic filtering for compatibility with your version of Revit.
Close Revit completely before installing any plugin. Running installations while Revit is open causes files to lock, installations to partially fail, or add-ins to load incorrectly. This simple step prevents the majority of installation problems users encounter.
Check compatibility before installing
Version mismatches cause immediate problems. As such, verify that the plugin explicitly supports your exact version of Revit before downloading. A plugin built for Revit 2023 will not work in Revit 2024 without updates from the developer. The plugin’s download page or App Store listing always specifies compatible versions, so check this information first.
Operating system requirements matter too. Most Revit plugins require 64-bit Windows, but certain versions of Windows (10, 11) sometimes determine compatibility. Check the system requirements if you are running older Windows installations or planning deployment across varied hardware.
Step-by-step installation process
- Download from trusted sources – Use the Autodesk App Store, the developer’s official website, or verified third-party platforms. Avoid random download sites that bundle unwanted software or modified installers.
- Run the installer as an administrator – Right-click the downloaded .exe or .msi file and select “Run as administrator.” This grants the permissions necessary to write files into Revit’s protected directories.
- Follow the installation wizard – Most installers guide you through simple steps: accept license agreements, confirm installation paths, and select which versions of Revit to support if you have multiple versions installed.
- Restart Revit – Launch Revit after the installation is complete. The plugin should appear in the interface automatically, typically as a new ribbon tab, menu item, or button within existing ribbons.
- Verify that the plugin has loaded – Check that the add-in appears where expected. If you do not see it, look in Revit’s Add-Ins tab or check the plugin’s documentation for its exact location.
Enabling and managing add-ins
Revit gives you control over which add-ins load at startup. Access this through the Add-Ins ribbon tab, then click “Add-In Manager” (in some versions of Revit) or navigate to File > Options > Add-Ins. Here, you will see all installed plugins with the option to enable or disable them individually.
Disabled add-ins do not load when Revit starts, improving performance if you are not using certain tools. This is particularly useful for resource-intensive plugins like rendering engines – disable them when you are not actively rendering to keep Revit responsive.
Some plugins require activation or license configuration after installation. Premium tools typically prompt you for license keys or require signing into an account during first use. Keep license information accessible before installing paid plugins to avoid unnecessary workflow interruptions.
Troubleshooting common installation issues
- Plugin does not appear after installation – Verify that you have installed the correct version of the plugin for your version of Revit. Check the Add-In Manager to see if it is listed but disabled. Restart Revit again, as some plugins require two restarts to initialize properly.
- Installation fails or shows errors – Ensure that you have run the installer as an administrator. Temporarily disable antivirus software, as security tools sometimes incorrectly block the installation of Revit add-ins. Check that you have sufficient disk space and write permissions in the installation directory.
- Revit crashes after installing a plugin – The new add-in likely conflicts with existing plugins or your Revit installation. Boot Revit in safe mode (hold Ctrl while launching) to bypass add-ins, then disable the problematic plugin through the Add-In Manager. Contact the developer’s support with crash details.
- “Could not load add-in” errors – The plugin’s dependencies (such as versions of the .NET Framework) might be missing. Check the plugin’s system requirements and install any required prerequisites. Reinstalling the plugin sometimes resolves corrupted file issues.
Installation location and manual installation
Automatic installers place files in standardized directories, but knowing what these locations are also helps with troubleshooting and manual installations when necessary. Revit usually searches for add-ins in:
- C:\ProgramData\Autodesk\Revit\Addins\[VERSION]\
- C:\Users\[USERNAME]\AppData\Roaming\Autodesk\Revit\Addins\[VERSION]\
- C:\Users\[USERNAME]\AppData\Roaming\Autodesk\ApplicationPlugins\
Manual installation (which is required for some open-source plugins like pyRevit) involves copying the plugin files directly into these folders. Each add-in needs its own subfolder containing the .dll files and an .addin manifest file that tells Revit how to load the plugin. Most users never need manual installation, but it is the solution if there is no automatic installer.
How do I ensure plugin safety and security?
Revit add-ins integrate deeply into your BIM environment, accessing project files, system resources, and sometimes network connections. This level of access means that security considerations are essential, not optional. Malicious or poorly coded plugins compromise project data, introduce system vulnerabilities, or cause stability problems that disrupt workflows. Understanding basic security practices protects both your projects and your infrastructure.
The fundamental rule is simple: download plugins exclusively from trusted sources. The Autodesk App Store provides vetted add-ins that undergo security screening before publication. Official developer websites – particularly those from established companies like Chaos (V-Ray), McNeel (Rhino), or Ideate Software – represent equally safe sources. These publishers stake their reputations on secure, reliable tools.
Verify that plugins receive active maintenance and updates. Abandoned add-ins pose security risks because they never receive patches for newly discovered vulnerabilities. Check the developer’s update history before installing – plugins that have not been updated in years or that do not support recent versions of Revit deserve skepticism. Active development signals that security issues will be addressed promptly.
Read user reviews and community feedback before installing unfamiliar plugins. Other users’ experiences reveal problems like data corruption, security concerns, or suspicious behavior that official descriptions do not mention. Forums, Reddit discussions, and the App Store’s review section provide honest assessments from actual users.
Enterprise environments require additional considerations. IT departments should audit plugins before company-wide deployment, especially for tools that access shared network resources or integrate with external services. Centralized license management and controlled installation prevent users from installing unvetted tools that create security gaps.
Plugin security is not particularly complicated and mostly follows general security measures, but it still requires human oversight. Source verification, active maintenance, and minimal permissions create a secure plugin environment without sacrificing the productivity benefits that make add-ins valuable in the first place.
How do I choose the right Revit plugin?
Selecting the right add-ins requires strategy, not impulse. With thousands of plugins available, the wrong choices waste money and clutter your interface with tools you will never use. The key is matching plugins to the actual pain points in your workflow rather than chasing features that sound impressive but do not solve real problems.
Begin by identifying where your team loses the most time. Track a typical project week and note which tasks feel repetitive, error-prone, or unnecessarily complex. Those bottlenecks are where plugins can deliver measurable returns. A tool that saves 30 minutes per day is already worth a significant investment, while a rarely-used feature will not earn its keep regardless of how sophisticated it looks.
Budget matters, but total cost of ownership extends beyond the purchase price. Remember about training time, potential productivity dips during adoption, ongoing subscription fees, and technical support needs. A free plugin that requires weeks of learning sometimes costs the company more than a paid solution the team would master in the matter of days.
Start with free trials and free tools
Never commit to paid plugins without testing first. Most premium add-ins offer 30-day trials, so use them. Install the plugin, assign real project tasks to it, and measure the actual time savings. If the trial period does not demonstrate clear value, the full version will not do so either.
Free plugins deserve serious consideration before you spend anything. Tools like pyRevit, Dynamo, and BiMTOOLS solve common problems at zero cost. Exhaust free options for your use case before upgrading to paid alternatives. You will often find that free tools handle most of your needs perfectly well.
Match plugins to your role and projects
Your discipline determines which plugins matter most. Architects need rendering and visualization tools like Enscape or V-Ray. Structural engineers require analysis capabilities like SCIA Engineer. MEP professionals benefit from coordination tools like MEPworx. Contractors prioritize clash detection and the automation of documentation.
Project scale influences requirements too. Small residential projects need different tools than large commercial developments. Complex multi-disciplinary projects demand robust coordination features, while simpler work gets by with basic productivity tools.
Check compatibility and support
Verify that any plugin supports your exact version of Revit before purchasing. Version incompatibility causes immediate issues. Check the developer’s update history – plugins that lag behind Revit releases by months create workflow gaps when you need to upgrade.
Support quality is what separates professional tools from abandoned experiments. Look for and read user reviews, focusing on how the developers handle problems. Responsive support teams that fix bugs quickly and answer questions thoroughly justify higher prices, while radio silence from developers signals future headaches.
Evaluate integration and performance
Test how plugins interact with your existing toolset. Some add-ins conflict with others, causing crashes or feature disruptions. Install new plugins one at a time and monitor Revit’s stability for several days before adding more.
Performance impact matters for large models. Plugins that reduce Revit’s responsiveness hurt productivity regardless of their features. Monitor memory usage and file opening times after installation – any plugin that noticeably degrades performance needs serious justification to remain installed.
Consider team adoption
The best plugin fails if your team will not use it. Involve team members in evaluation, especially those who will use the tool daily. Complex interfaces and steep learning curves reduce adoption rates. Tools that feel intuitive from day one see higher usage than those requiring extensive training.
Standardization across your team multiplies the potential benefits. When everyone uses the same plugins, you share knowledge, troubleshoot together, and maintain consistent workflows. When individual team members install their own preferred tools, your process is fragmented and collaboration is complicated.
Should I use free or paid Revit plugins?
The Revit plugin ecosystem offers thousands of options with both free and paid models, and choosing between them is not always obvious. Free does not automatically mean inferior, and paid does not guarantee quality. Knowing what each category typically delivers helps improve budget allocation, avoiding both overspending and incorrect assumptions about economy.
Free plugins often provide exceptional value for standard workflows. Tools like pyRevit, Dynamo, and BiMTOOLS solve common problems without subscriptions. Many free options come from passionate developers, educational institutions, or companies offering basic versions to promote premium products. These tools handle everyday tasks such as sheet management, parameter editing, and basic automation perfectly well for most users.
Paid plugins justify their cost via specialized capabilities, professional support, and enterprise features. When your projects demand photorealistic rendering, advanced structural analysis, or sophisticated clash detection, premium tools deliver quality that free alternatives simply do not match. The real question is not “free or paid?” but rather “which option justifies the investment?”
Quick comparison table
When are free plugins enough?
Free tools work perfectly fine for standard productivity needs. If you are managing sheets, organizing families, adjusting parameters, or performing basic automation, free plugins handle these tasks without compromise. Small firms and solo practitioners often build entire workflows around free tools with excellent results.
Start every plugin search with free options. Test pyRevit for general productivity, Dynamo for custom automation, and category-specific free tools before spending money. You will frequently discover that free solutions can solve your problem completely. Even large firms benefit from strategically mixing free and paid tools rather than defaulting to premium options everywhere.
When do paid plugins justify the investment?
Specialized technical capabilities require paid tools. Rendering engines like Enscape and V-Ray produce photorealistic visualizations which are impossible with free alternatives. Structural analysis tools like SCIA Engineer provide engineering-grade calculations that free plugins do not even attempt. Advanced clash detection platforms like Revizto offer coordination features that free tools cannot match.
Professional support justifies premium pricing for mission-critical workflows. When downtime costs thousands per hour, responsive technical support and guaranteed compatibility become essential. Paid plugins prioritize updates for new versions of Revit, minimizing disruptions during upgrades. Training resources and documentation help teams achieve productivity faster than community-supported free tools allow.
Enterprise features – license management, centralized deployment, usage analytics, and security compliance – exist almost exclusively in paid products. Large organizations need these capabilities to manage tools across dozens or hundreds of users effectively.
What is the hybrid approach?
Most successful Revit workflows strategically combine both free and paid plugins. Use free tools for commodity functions – the everyday tasks that do not differentiate your work. Invest in paid tools for specialized capabilities that directly impact project quality, client satisfaction, or competitive advantage.
A typical hybrid toolkit might include free tools like pyRevit or Dynamo for general productivity alongside paid solutions like Enscape for client presentations and a premium clash detection tool for coordination. This approach maximizes value while controlling costs. The goal is not to choose one category over the other – it is to create the most efficient toolkit for your specific needs and budget.
Examples of Revit add-ons
We present our take on the list of Revit add-ons – our selection of the top Revit plugins is presented below. These Revit add-ons also explain what they are capable of, so it will be easy to find the Revit add-ins that fit your specific use case. They are presented in no particular order, and their categories are noted where possible.
Revizto
Category: Clash Detection
Price: Quotation-based
Revizto stands out as a comprehensive clash detection and issue management platform that transforms how construction teams coordinate across disciplines. The Revit plugin serves as a powerful bridge between user BIM models and Revizto’s centralized issue tracking system, enabling real-time clash detection, automated reporting, and streamlined communication workflows. Teams can track existing issues with precision, create new reports with detailed annotations and screenshots, and export entire models directly into Revizto’s collaborative environment. The automated scheduling capabilities ensure that model updates flow seamlessly into the coordination process without manual intervention.
What sets Revizto apart is its multi-platform approach to project coordination, supporting not just Revit but also Navisworks, SketchUp, and other major design software. This creates a unified workspace where architects, engineers, contractors, and clients can collaborate from a single source of truth, eliminating the version control headaches that plague traditional project delivery. The platform’s advanced visualization tools, including its AR and VR capabilities, enable stakeholders to experience design issues in context, making problem-solving faster and more intuitive. This, combined with robust reporting features and integration capabilities, allows Revizto to deliver the coordination infrastructure that complex projects demand.
Guardian
Category: General
Price: $3,950 for the base package; a 30-day free trial is also available.
Starting with a relatively simple feature is the Guardian app, an effective solution to combat user errors in complex BIM systems. This Revit plugin allows administrators to create custom warnings for specific actions, such as deleting an important file. Of course, Guardian offers many other features, like password requirements for each such action, various mapping elements, and much more, but custom warnings are the cornerstone feature that users know Guardian for.
Ideate Explorer
Category: General
Price: $495 per year for a single license; a 30-day free trial is also available.
As with the previous example, Ideate Explorer is a Revit plugin that offers many different features and has one specific feature that acts as the highlight of the plugin. In this case, the feature is Ideate’s Warnings Manager, a handy tool for providing a quick overview of your project warnings (walls overlapping, problems with geometry, etc.) and the ability to sort through them all. What Ideate Explorer does great here is that it allows you to color-code your warnings to quickly delineate which issues should be prioritized over others.
Ideate is a collection of Revit plugins with different use cases and features. Other variations include:
- Ideate Sticky (simple data linking with Revit models, especially valuable for non-BIM data like Excel or Word files).
- Ideate BimLink (convenient data exporting to and from Excel spreadsheets).
- Ideate StyleManager (easy organization for the style issues list, reducing clutter).
- Ideate Apps (a collection of multiple small apps similar to the examples below).
pyRevit
Category: Tool Set
Price: Free
While it is true that it is nearly impossible to pick a single best Revit plugin, pyRevit is probably closer to this status than most. The plugin is well-known in the community, and it offers many valuable features that make your Revit experience easier in one way or another. Listing all of the features of pyRevit would take quite a while, but it is worth noting that it has both obvious and rather unique features. For example, Keynote Manager is a relatively common feature of pyRevit, and it is extremely useful, since Revit keynotes are problematic with the basic toolset. As for a more unusual example, there is a tool called “Who did that??” which allows you to see which user made what choices in terms of design and/or modeling so that there is no pointing fingers whenever an essential element of a project is floating in the air in the model.
It should be noted that pyRevit also has its share of extensions, including pyRevit Plus, an additional (also free) package of features with tools such as Auto Plans, Crop Image, Remove Underlay, Smart Align, and more.
Clash Preventor
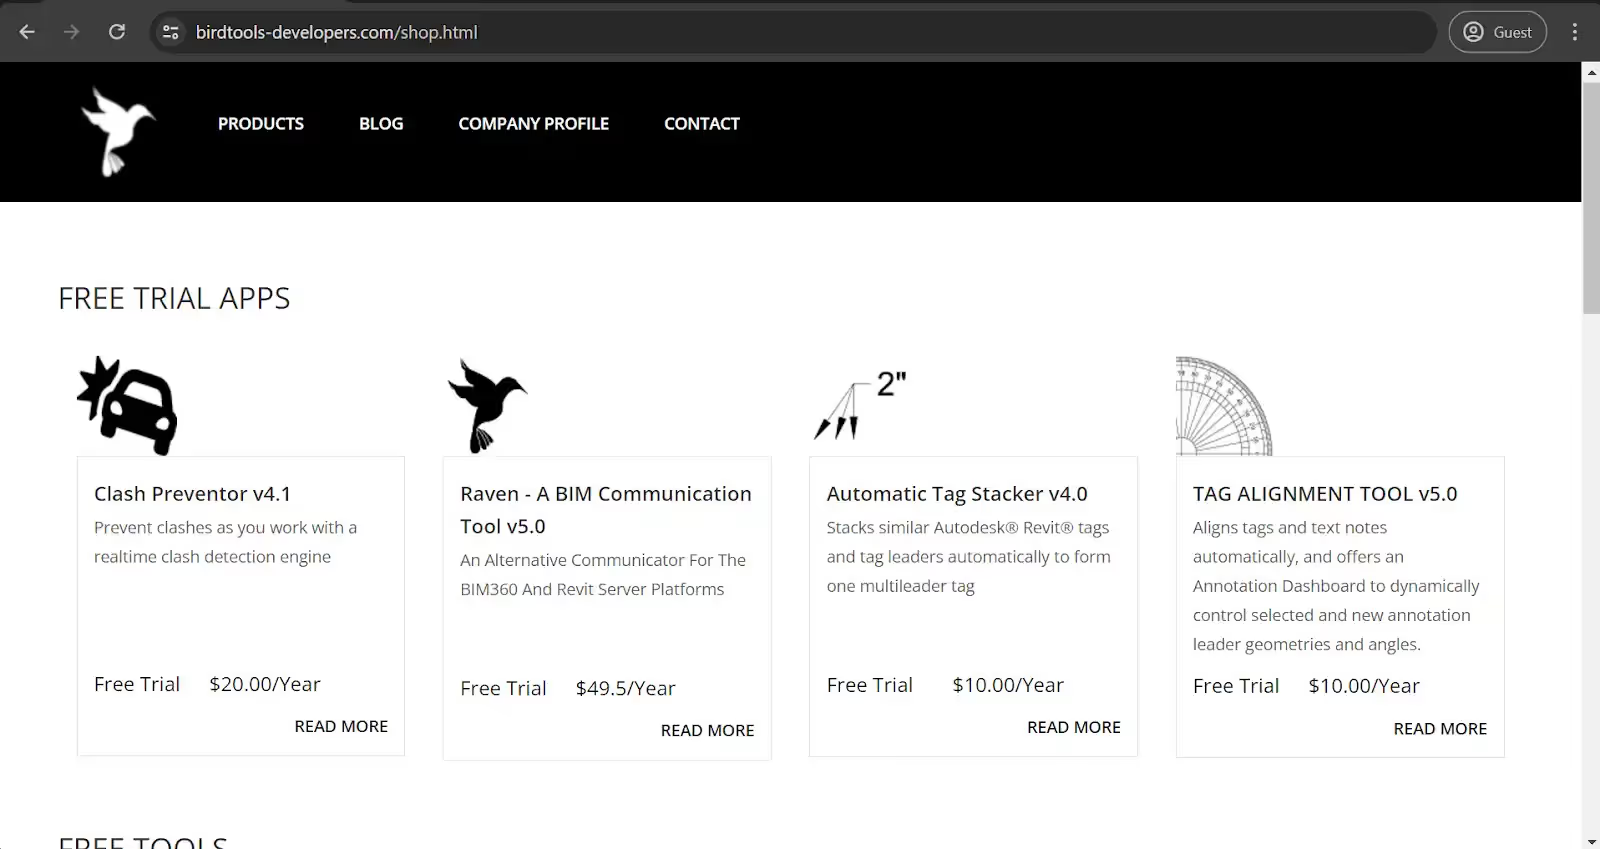
Category: Clash Detection
Price: $20 per year; a free 30-day trial is also available
Clash Preventor does precisely what its name suggests: clash prevention. The add-on offers manual and automatic element testing to look for clashes and inconsistencies in a Revit model. The elements in question are easily sorted, while navigating through the clashes themselves is just as easy with the built-in Clash Browser. The results and additional information about each clash is easily exported, and there is even an option to import Navisworks-generated clash detection reports.
Enscape

Category: 3D Rendering Tool
Price: starting at €78.90 monthly for a fixed-seat license or €76.90 monthly for a single floating license.
Enscape is a real-time rendering plugin offering 360 panoramas and 2D/3D renders of existing models. It is a rather less conventional Revit plugin. It is used for many different purposes, but mainly for promotion via VR experiences. Enscape models are easily exported to Oculus Rift and HTC Vive headsets. Enscape also offers a free trial and an educational license for universities, both students and teachers.
V-Ray
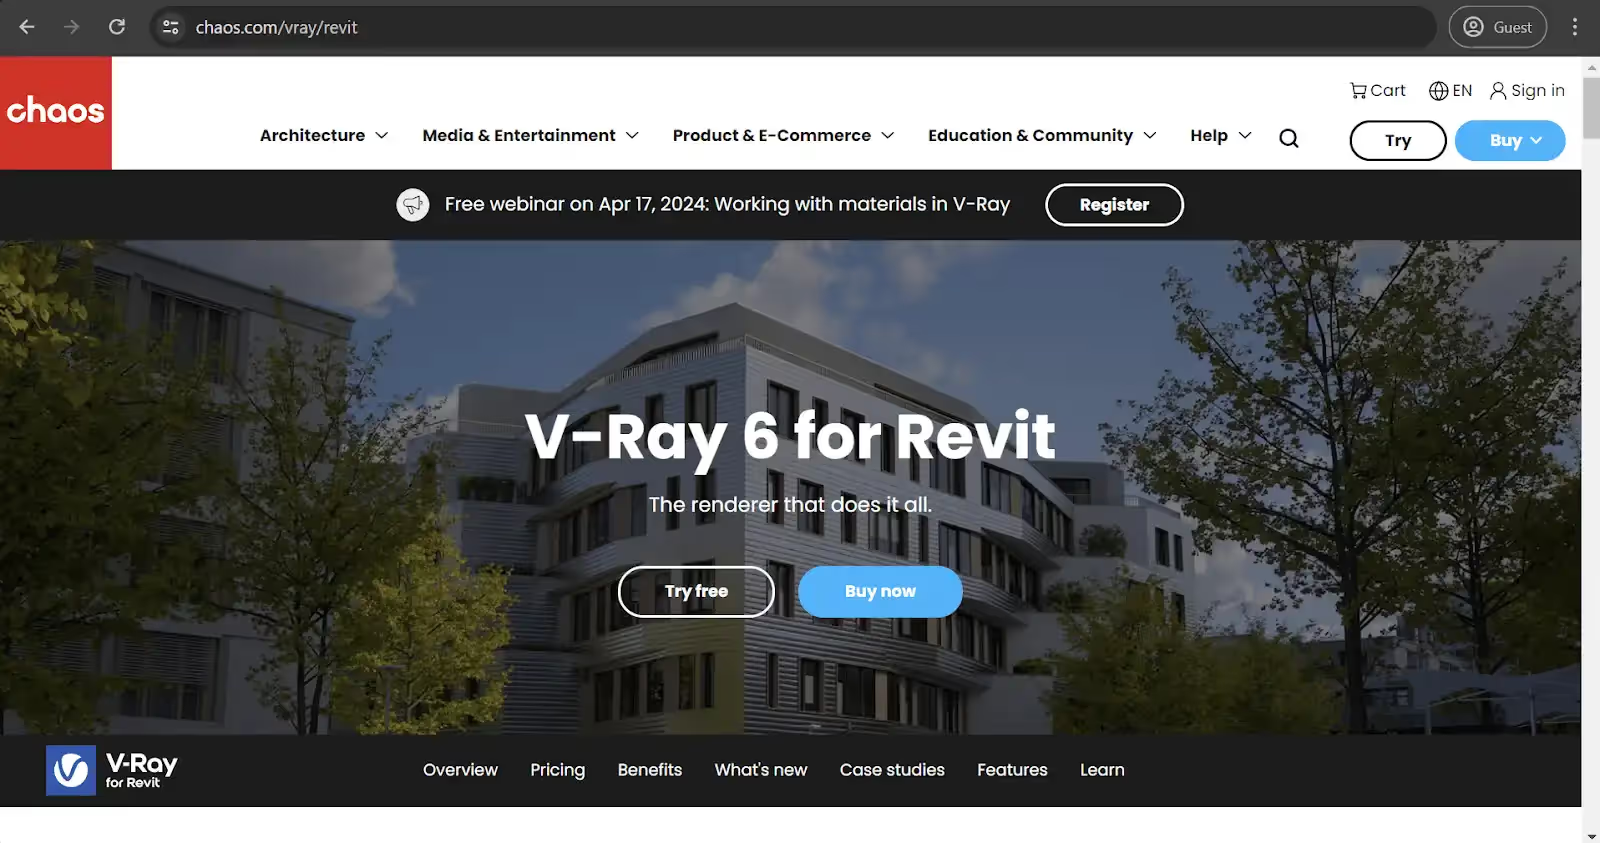
Category: 3D Rendering Tool
Price: starting at €74.90 monthly for a fixed-seat license or €109.90 monthly for the Premium version with additional features and a floating license type.
V-Ray is one of the best-known third-party rendering engines on the market. It is available for Revit, SketchUp, 3dsMax, and more. It is fast and detailed and produces practically photorealistic renders in a very generous time frame. The fact that it is a plugin makes it possible to perform all rendering manipulations from inside Revit, which is an undeniable advantage for some users.
TwinMotion
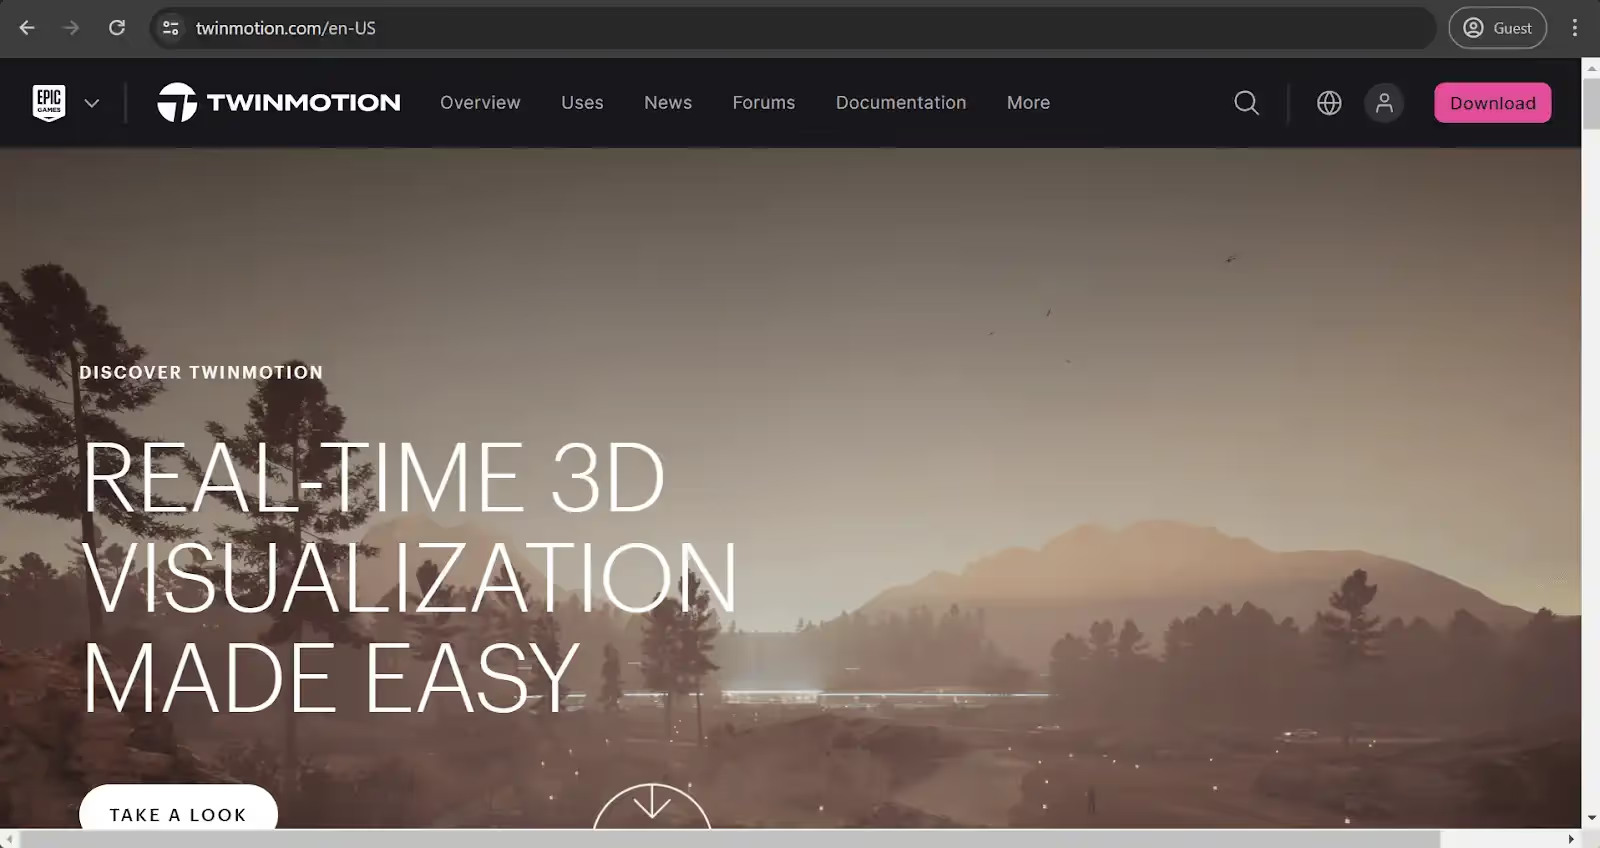
Category: 3D Rendering Tool
Price: multiple resellers from different countries; the US-based reseller IMAGINiT offers a single perpetual license for the 2023 version for $400.50
TwinMotion is a lesser-known rendering engine that works in a similar fashion, offering high render quality, high accuracy, and so on. It is also possible to link it with the Unreal Engine, offering an entirely new level for existing renders, if necessary. Otherwise, it is a rather standard rendering engine that some users prefer over V-Ray or its competitors.
Rhino.Inside

Category: 3D Design Tool
Price: Technically speaking, the plugin itself is free, but the technology is considered part of the Rhinoceros 7 package, a paid solution with a 90-day free evaluation period for all new users.
Rhino.Inside is an integration platform for Revit and Rhino with the addition of Grasshopper, the best-known 3D plugin for Rhino. This combination of capabilities allows for much greater versatility and flexibility during model design with no loss of all of Revit’s BIM capabilities. Rhino.Inside greatly simplifies information transfer between Rhino and Revit while utilizing the power of Grasshopper scripts for better parametric model design.
RushForth Tools

Category: Tool Set
Price: $125; a free 30-day trial is also available.
RushForth Tools is an excellent example of a Revit add-on that combines multiple small-scale features in a single bundle, which is a relatively common trend in this sphere. RushForth’s capabilities include Project Setup (sheet and 3D view creation tool), Parameter Transformer (filtering and parameter modification for Revit Families), and more. The overall toolset is created with the primary goal of improving the software’s efficiency while also improving workflows and bringing in other advantages for Revit users.
RTV Xporter Pro
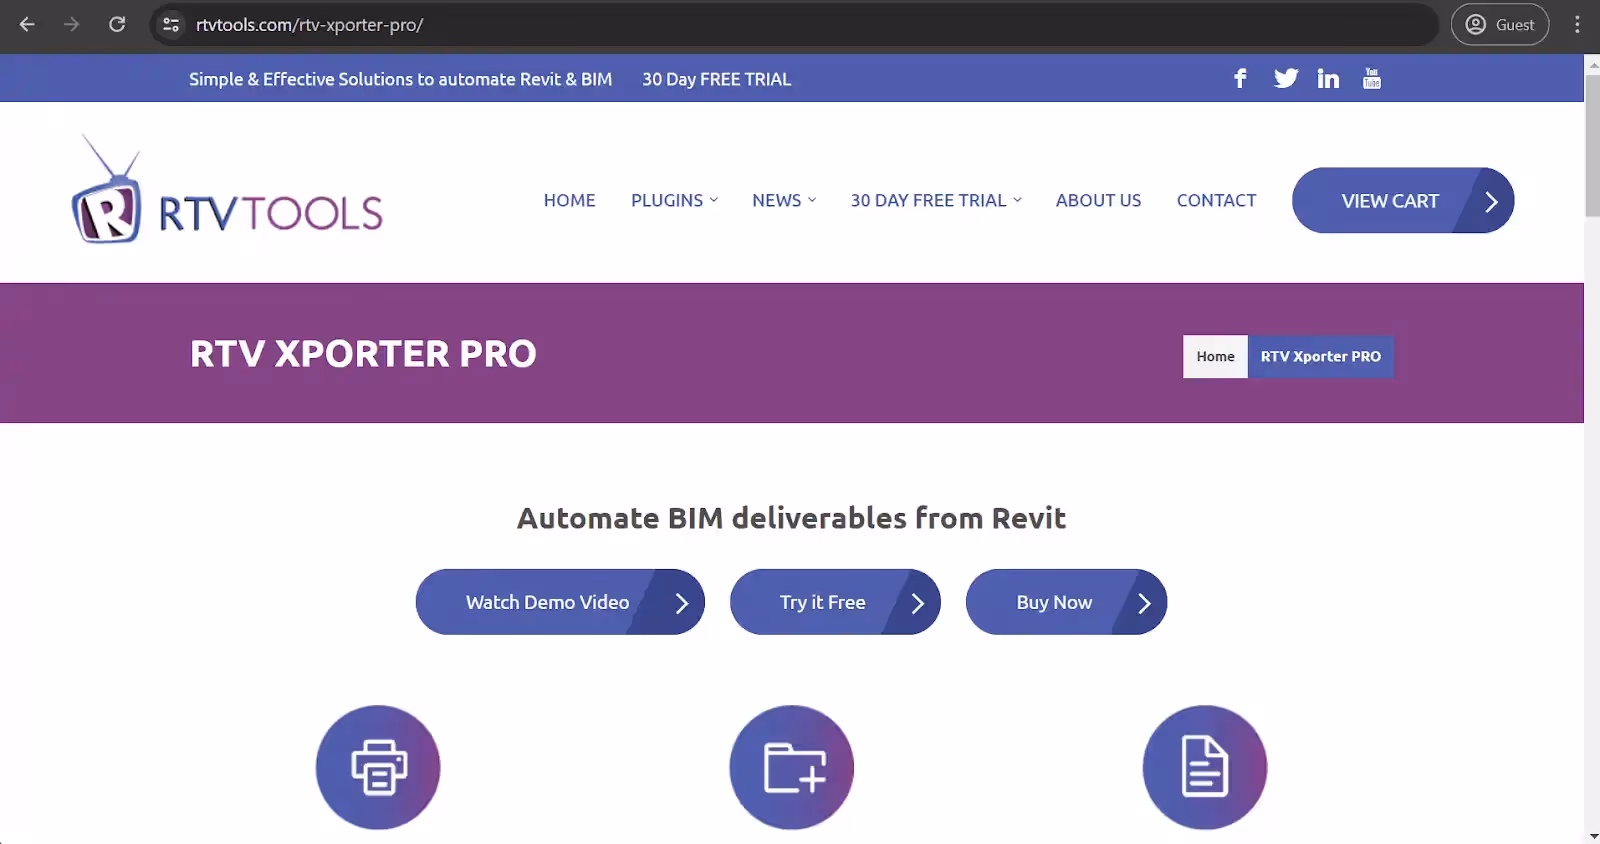
Category: Printing and Exporting
Price: $49 for a single license annually; a free 30-day trial is also available.
This and the next example are relatively similar in many ways, but it is still worth it to review them separately. RTV Xporter Pro is a Revit plugin for a rather specific use case: it specializes in exporting and printing drawings in many different formats. Schedule both of these processes in several ways, navigate the software’s user-friendly interface with no issues, and work with many different formats, including PDF, DXF, NWC, DWG, IFC, and DWF(x).
Xrev Transmit

Category: Printing and Exporting
Price: $69 AUD for a single year and a single license; a free 30-day trial is also available.
As we have mentioned, both RTV Xporter Pro and Xrev Transmit work in the same niche of exporting/printing documents. Xrev also works with many different formats and supports scheduling these actions. What is different about it is its ability to provide centralized management for all of your future exporting/printing settings, including settings for specific file formats, manual output settings, etc. It is worth noting that this option also has customizable permission settings, making the granular management of exporting a lot easier.
SCIA Engineer
Category: Structural Analysis
Price: Quotation-based, with a 30-day free trial.
SCIA Engineer’s main capability is multi-material structural analysis. It is a standalone solution that is linked with Revit to act like an add-on. Its industry-grade structural analysis is a highly useful tool for Revit users, allowing for the location and fixing of all kinds of weak spots and problematic areas as early as the design phase.
MEPworx
Category: MEP design
Price: Starts at £5,500 for the primary license and an additional £990 for one year of maintenance and support.
Despite its relatively obvious name, MEPworx is not focused on plumbing design specifically (even though MEP stands for “mechanical, electrical, and plumbing’). Other than that, it is a solid, mid-tier solution that assists with analyzing or designing electrical or HVAC (heating, ventilation, and air conditioning) systems in Revit models in a relatively convenient fashion.
BiMTOOLS
Category: Tool Set
Price: Free
Of course, not all Revit add-ins are made for one specific purpose. Solutions like BiMTOOLS, for example, offer many different features in a single package. Some of the features that are available with this plugin are 3D PDF creation, selective tagging, element positioning, substitution of font types, copying of mounting parts, and more.
Can I build my own Revit add-in?
Speaking of coding languages, this is practically the only option for creating custom Revit add-ons. It is not an easy process, and it requires a decent level of knowledge of C#, the programming language that the Revit API (application programming interface) works on. Like most programming languages, C# is not easy for beginners, and even getting to know the basics often takes weeks.
It is a plausible option for some small-scale use cases that are not particularly difficult to implement, but most large-scale add-ons would take too much time and resources to create and implement by yourself as a Revit client. As such, the topic of creating custom Revit add-ons remains relevant to a very specific group of users that are willing to put time and effort into making these add-ons to distribute or sell them afterwards.
How do I delete Revit add-ins?
Removing unwanted plugins keeps your Revit installation clean and prevents performance degradation from unused tools cluttering your system. While installation is straightforward, uninstallation requires slightly more attention because older plugins do not always provide options for clean removal. The method you use depends on when the plugin was created and how it was installed.
Modern plugins (especially those installed through the Autodesk App Store after 2020) typically include proper uninstallers that appear in Windows’ standard program removal interface. Navigate to Settings > Apps > Installed apps (Windows 11) or Control Panel > Programs > Programs and Features (Windows 10 and earlier). Locate the plugin by name, click it, and select Uninstall. The plugin’s removal wizard handles the rest automatically, cleaning up files and registry entries.
Older plugins – particularly those created before Revit 2020 – often lack formal uninstallers. For these, you will need to delete the plugin files manually from Revit’s add-in directories. Close Revit first, then navigate to these standard locations:
- C:\ProgramData\Autodesk\Revit\Addins\[VERSION]\
- C:\Users\[USERNAME]\AppData\Roaming\Autodesk\Revit\Addins\[VERSION]\
- C:\Users\[USERNAME]\AppData\Roaming\Autodesk\ApplicationPlugins\
Find the folder or files associated with the plugin you are removing (they usually match the plugin’s name) and delete them. Restart Revit to complete the removal. The plugin will no longer load or appear in your interface.
Some plugins scatter files across multiple locations or modify Revit’s configuration files. If standard uninstallation methods do not fully remove a plugin, or if you are experiencing lingering issues, Autodesk provides a “final resort” option: the Autodesk Uninstall Tool. This utility removes all Autodesk-related software from your system, including Revit and all add-ins. Download it from Autodesk’s support site, but use it only as a last resort – you will need to reinstall Revit and reconfigure everything afterward.
Troubleshooting issues while uninstalling Revit add-ins
If Revit throws errors referencing a removed plugin, the add-in’s manifest file (.addin) might remain even though the program files are gone. Search the add-in directories above for any .addin files containing the plugin’s name and delete them manually.
When a plugin refuses to uninstall through Windows or leaves locked files behind, restart your computer to release the file locks, then attempt removal again. Stubborn plugins sometimes require that the uninstaller be run or the files manually deleted in Windows Safe Mode.
After removing plugins – especially multiple plugins – check Revit’s Add-In Manager (found in the Add-Ins ribbon tab) to confirm that they are truly gone. Disabled add-ins still appear in this list but will not load. If you see remnants of uninstalled plugins here, they are usually harmless, but you can clean them up by removing any remaining files from the directories listed above.
Key takeaways
- Revit add-ins transform the base software into a specialized powerhouse by automating repetitive tasks, eliminating bottlenecks, and adding professional-grade capabilities that native Revit lacks.
- Free plugins like pyRevit and BiMTOOLS handle most common productivity needs effectively, making them the smart starting point before investing in premium tools.
- Choose plugins strategically by identifying the actual pain points in your workflow rather than installing every tool that sounds impressive – measured time savings justify the investment.
- Always verify version compatibility and download exclusively from trusted sources like the Autodesk App Store or official developer websites to avoid security risks and installation failures.
- Test paid plugins during their free trial periods with real project tasks to confirm that they deliver measurable value before committing to subscriptions.
- Disable or uninstall unused plugins regularly to maintain Revit’s performance and minimize security exposure – every active add-in consumes resources and represents potential vulnerabilities.
Conclusion
Revit is a widely recognized BIM solution that is often considered the best of what the market has to offer. It packs a lot of different features by default, and its ability to work with add-ons and plugins makes its feature range even bigger, especially when it comes to certain case-specific options. Revit also has a built-in add-on market that makes it much easier for most users to find and install necessary plugins.
This rich market of Revit add-ons benefits users by increasing the chances that they find the specific solution they need for their particular use case. We hope our list of top Revit add-ons has been helpful for your Revit experience.
The issue of picking the “best” Revit add-on is very difficult to solve or answer, simply because of how many different features a company might need from a BIM solution. There may be thousands of different answers to this question, each of which would be true for a particular set of use cases. As such, there is no single best Revit add-on, but there are plenty of practical and convenient options, and we have tried our hardest to present several such options in this article.