How 2D drawings connect to a 3D model in Revizto
See how Revizto fits your workflow
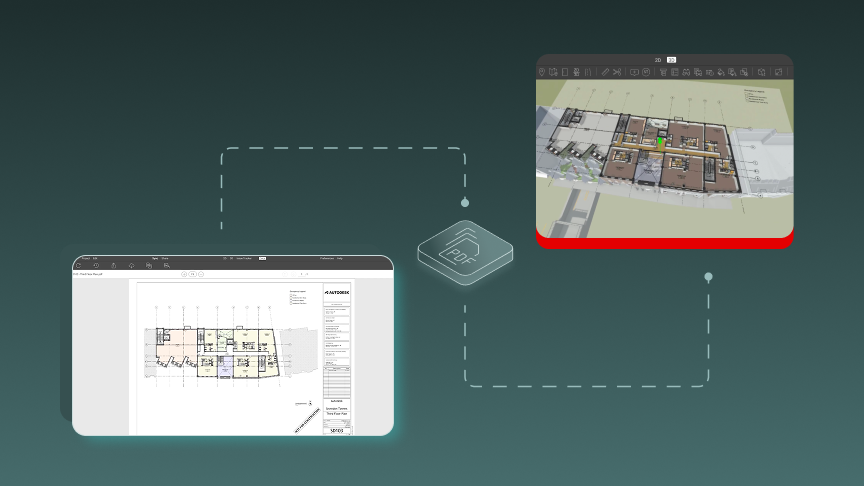
Revizto brings 2D drawings and 3D models into one environment, and 3D overlays are how the two connect. This article explains how a Revit sheet is placed in the model, how issues show up in both views, how to open an overlay, and how overlays are created, with an example from Laing O'Rourke's MelConnex Perth rail project.
Quick takeaway: Revizto connects 2D drawings to a 3D model through 3D overlays. A 3D overlay shows a 2D sheet over a section cut of the model. For sheets published from Revit, Revizto places the sheet in the model using the view's cut plane, so issues can be seen in both 2D and 3D.
How does Revizto place a 2D sheet in the 3D model?
Every plan view in Revit has a view range. It includes a cut plane, which is tied to a level and can be offset up or down, plus a top and a bottom. The top sets how far from the cut plane you can see elements, and the bottom sets the lowest level at which elements are visible.
When a sheet is published from Revit to Revizto, Revizto knows where that view sits in the 3D environment. The sheet lands on the level of the cut plane, and the top and bottom of the view range determine how much space the sheet occupies in the model.
How do issues appear in both 2D and 3D?
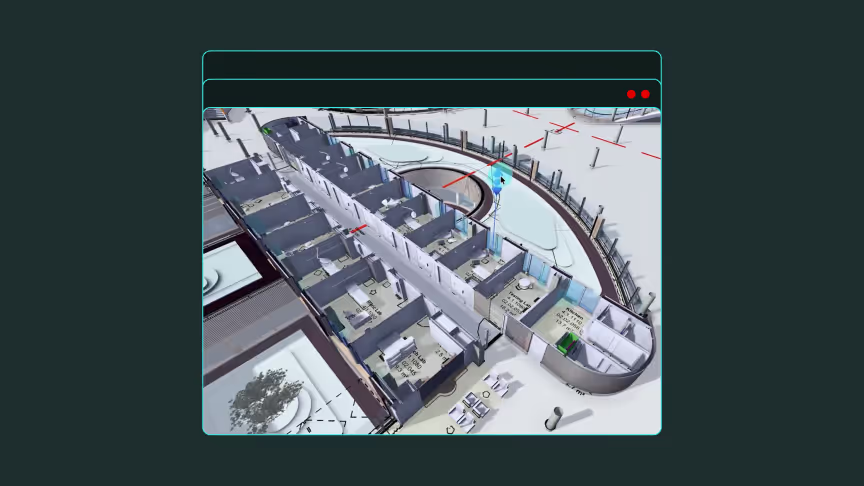
Because the sheet occupies real space in the model, an issue placed in 3D inside that space also appears on the drawing. In the webinar, Peter Cordier places an asset tag in the 3D view, then opens the same floor plan in 2D with pins turned on. The issue appears on the sheet.
One setting affects this. When a 3D overlay is set up, the issue capture boundary determines which issues display on the 2D sheet. Issues outside the boundary are hidden.
Revizto also supports viewing 2D drawings and 3D models side by side with Splitview, which lets teams review a markup in one environment next to the other.
How do you open a 3D overlay?
From the 2D gallery:
- Click 2D and navigate to a sheet with a 3D overlay. The Overlays filter shows only the relevant sheets.
- Click the Overlay icon to open the 3D model with the sheet overlay. Sheets with the Multiple overlays icon open the sheet first so you can choose.
From an open sheet, click Jump to 3D on the 2D toolbar, or use the Sheet overlay shortcut on the sheet.
Are 3D overlays created automatically?
For sheets published from Revit with sheet coordinates, Revizto aligns the overlay automatically. You can also create one manually with Set up 3D overlay: select the viewport, cut a section plane, position the sheet using the pivot points, and set the issue capture boundary. Revizto aligns the section cut using the sheet coordinates, and you can adjust it.
Existing overlays can't be edited. To change one, delete the existing viewports and create new overlays. Overlays carry over to new sheet versions, which then use the updated sheet.
What do teams use this for?
Revizto's Unified 2D/3D Environment page describes overlays as a way to spot inconsistencies, validate data, and improve coordination for stakeholders who need to understand what they're looking at.
On the MelConnex Perth rail project, Laing O'Rourke's team uses Revizto across 21 km of rail track and five new stations, with tablets and mobile devices supporting on-site communication.
“Having the 2D drawings, 3D models, all the issues, all in one platform—it's easily accessible. That's been a huge benefit in this project. It saved a huge amount of time. A lot of the team use the phone app. They find it just really easy to use, convenient, and it's always in your pocket so you can just take it out.”
Paul McIntyre, Senior Digital Engineer at Laing O'Rourke Australia
In the project video, the team also describes using the model on a mobile device to spot an installed distribution board that differed from the design.
Bring your 2D and 3D into one view with Revizto
Want to see how 3D overlays can connect your 2D drawings and 3D models on your next project? Talk to the Revizto team to get a walkthrough tailored to your workflow, or book a demo to see it in action.