How floor plans, elevations, sections, and details behave as 3D overlays in Revizto
See how Revizto fits your workflow
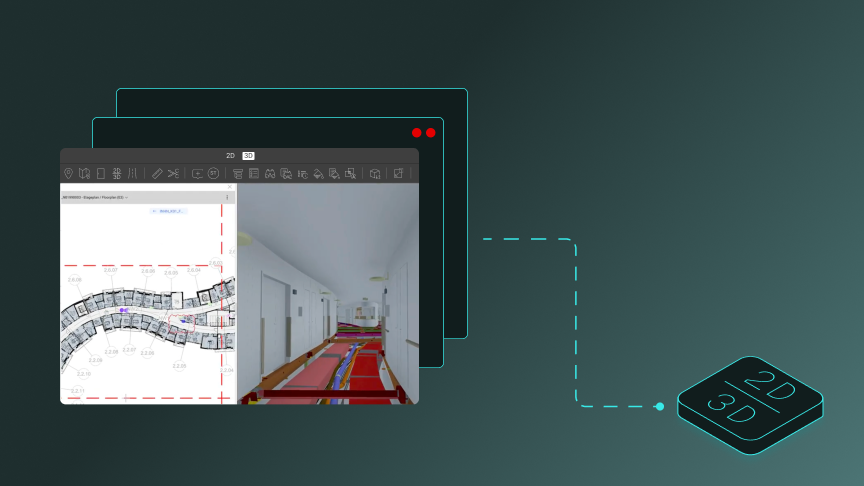
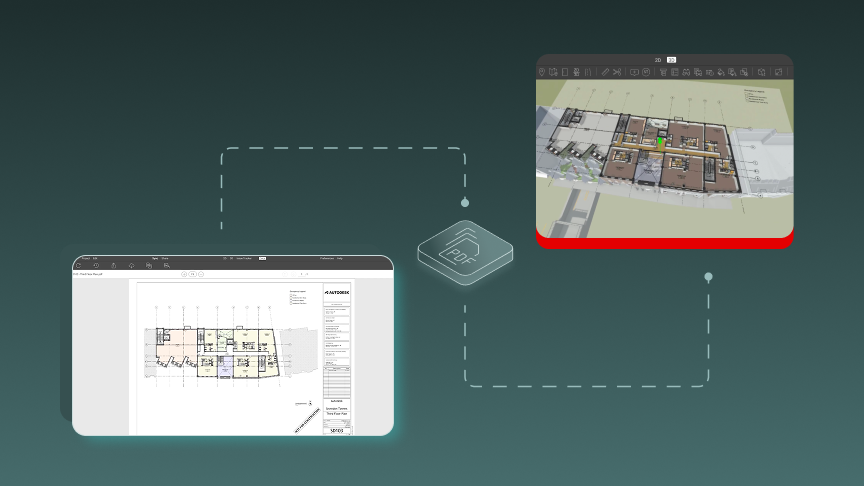
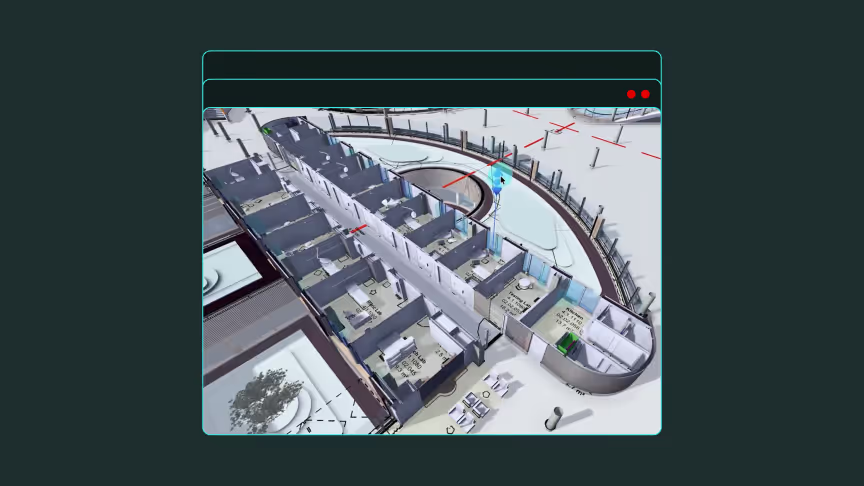
Not every Revit view behaves the same way once it is published to Revizto. This article walks through floor plans, elevations, sections, and details, covering where each one lands in the 3D model, what stays visible behind it, and what to check when a detail doesn't overlay. It draws on a Revizto webinar presented by Peter Cordier.
Quick takeaway: Floor plans, elevations, sections, and details all land in the 3D model at the position set in Revit. Elevations, sections, and details are not clipped in depth, so the rest of the model stays visible behind them.
How does a floor plan overlay work?
A floor plan overlays on the level where its cut plane sits. Of the view range settings, only the cut plane, top, and bottom matter once the sheet is published. The cut plane is where the view slices the model, the top sets how far above it you can see, and the bottom sets the lowest level of visible objects. Together they determine how much space the sheet occupies in the model. Autodesk's documentation covers view range in more detail.
How do elevations overlay?
An elevation is cut in the correct place in the model, matching how it was set up in Revit. Revit offers three clip options: clip with outer line, clip with a line, or no clip. Peter shows interior and exterior elevations in the webinar, and the behavior is the same either way. The elevation lands where it was defined and isn't clipped at the back, so the whole model remains visible behind it.
How do sections overlay?
A section shows the same content as the Revit sheet and is cut in the correct place. In Revit, a section may be clipped to a set distance. In Revizto there's no depth clipping, so the rest of the model stays visible behind it.
How do details overlay?
Details overlay automatically when they're cut from the model, meaning they were created with a detail view or callout. You can add hatching and annotations on top. A viewpoint built from scratch with 2D lines has no model cut to place, so it won't overlay automatically. As with sections, everything behind the detail stays visible.
Why isn't my detail overlaying?
- Check how it was created. It should be a detail view or callout, not freehand 2D lines.
- Check the overlay indicator's position. In the webinar, one detail's overlay indicator sat far from the drawing, so when the sheet was fitted to the screen it looked as though there was no overlay. Peter checked the crop region and found the view was too far from the drawing, and bringing it closer fixed it.
- Check the sheet in Revizto. Select the detail. It should land in the right place in the model.
How can I tell which sheets have overlays?
Use the Overlays filter in the 2D gallery to list only sheets with overlays. Sheets with the Multiple overlays icon open the sheet first, so you can choose which overlay to view.
Ready to see your drawings in 3D?
Want to see how floor plans, elevations, sections, and details behave as 3D overlays in your own projects? Talk to the Revizto team for a walkthrough tailored to your Revit workflow, or book a demo to see it in action.